SCIM 2.0 from OneLogin to Jira
- Liliya Pecherskaya
Owned by Liliya Pecherskaya
Last updated: Nov 04, 2018
- Navigate to the OneLogin Administration page.
- On the top menu click Apps → Add Apps
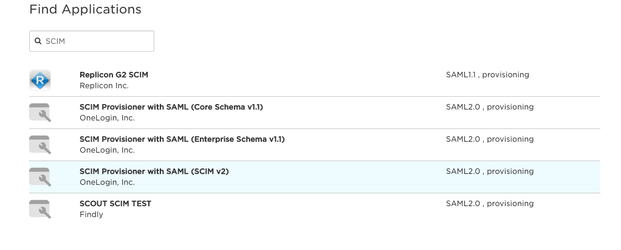
- Find SCIM 2.0 app:
- Then after saving a new app, navigate to the Configuration tab of the new app.
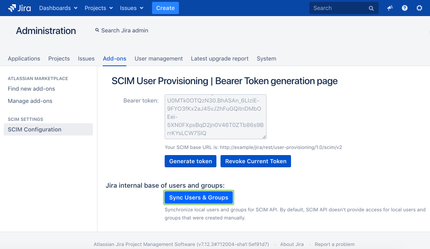
- Put your SCIM base URL(You can get it from the add-on configuration page in Jira) to SCIM base URL field. For example https://${your_domain}/jira/rest/user-provisioning/1.0/scim/v2
- Put your SCIM bearer token that you generated on the Jira SCIM Configuration page.
- Click button "Save" and "Enable".
Then you should be able to monitor your users on the "Users" tab on the app configuration page.
Groups provisioning:
By default groups provisioning is disabled. Please perform the following steps in order to have groups provisioning as well:
- Before we start let's do synchronization of local Jira groups and Users for SCIM API. Click Sync Users and Groups on the Jira SCIM Configuration page:
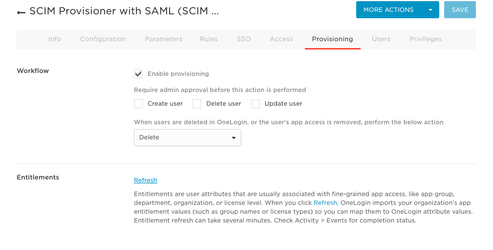
- Navigate to Provisioning tab and click Refresh button in App settings on the One Login side
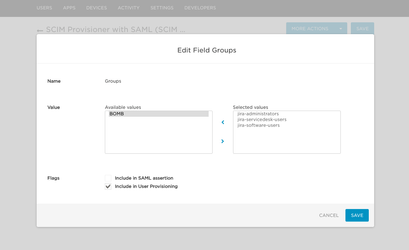
- Navigate to Parameters tab in App settings on the One Login side and click Groups
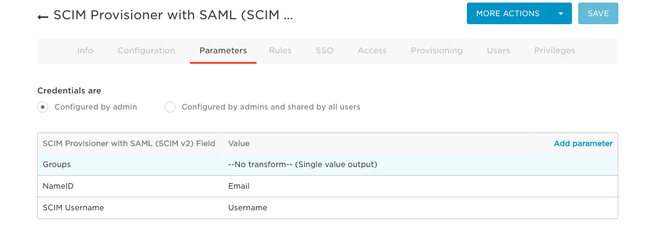
- Then you can select a group list that you want to sync
- Then when you add a user to your app you will be able to define groups for him and do changes for other members.
, multiple selections available,